Android IMAP Mailbox Setup Instructions (Bigbear)
The following screenshots will assist you with setting up your mailbox with your Android device using IMAP.
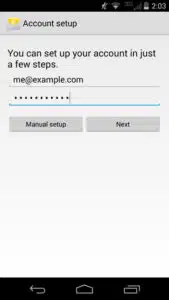
1. Open the default Email app on your Android phone. (You can download the app here)
2. When you first open the app, it will ask you to set up an account. Type in your full email and your password. Click Next.
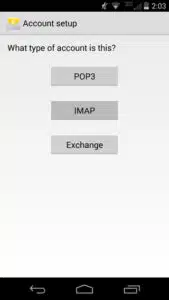
3. Select IMAP.
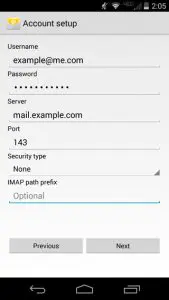
4. Input:
Username – Use Full Email Address
Password – Use Correct Password
Server Name – mail.yourdomainhere.com
Port – Confirm Server Port is set to 143.
Security type – Confirm Security is set to None.
IMAP path prefix – Leave optional field blank.
Select Next.
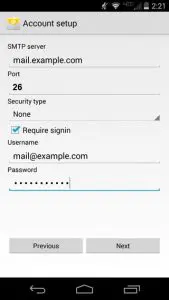
5. Input:
SMTP server – mail.yourdomainhere.com
Port – Make sure it is set to 25
Security type – Confirm Security is set to None.
Require signin – Confirm box is checked.
Username – Use Full Email Address
Password – Use Correct Password
Select Next.
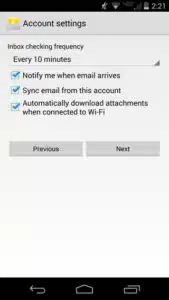
6. Set Inbox checking frequency – Checking often will use more battery. 10 minutes is a good medium. Leave all the default options checked. Select Next.3. Select IMAP.
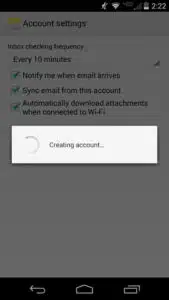
7. Wait for your account to be created
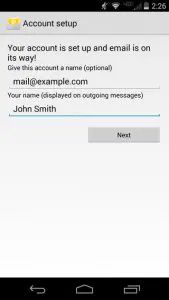
8. Finish setup
Give this account a name (optional) – feel free to create a nick name to help you remember which email account it is.
Your name – this is displayed to the receivee of your emails so make sure you spell your name correctly!
Select Next.
9. Congratulations you have successfully setup your mailbox to use IMAP on your Android phone.
Get Expert Advice. Join Our Newsletter.
Receive curated tips and practical guidance to improve your digital presence and build your brand.